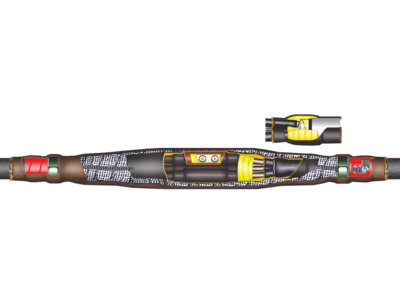
Tips from Termofit experts: installation of the Coupling on a cable with plastic insulation with voltage up to 12 kV.
Termofit is the world's leading manufacturer of cable fittings.
But in addition to the production of materials and products, the company also trains and certifies electricians for cable networks. Termofit experts are happy to share their experience and knowledge not only in production training centers, but also share useful tips on the Internet.
We asked our masters:
– How to install a coupling for a single-core cable with cross-linked polyethylene insulation with voltage up to 12 kV?
To which the Termofit specialists immediately responded:
To successfully install the coupling, 7 steps must be completed.
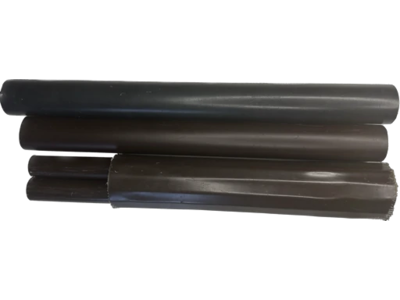
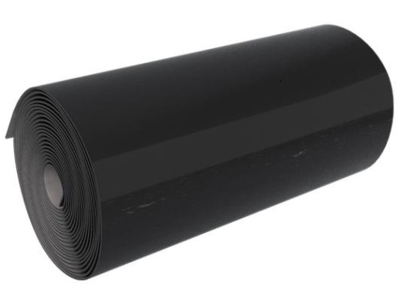
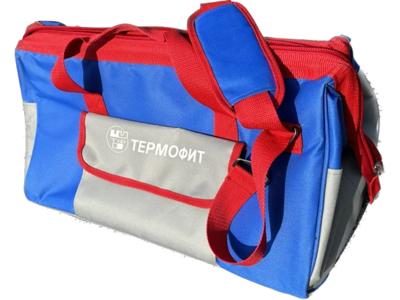
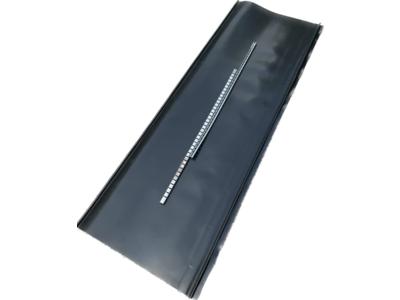
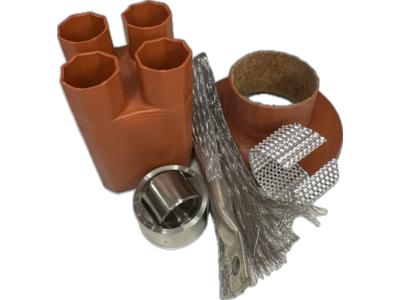
We always start by preparing equipment and materials: you need to make sure that you have all the necessary tools and materials for installation. More specifically: a plastic insulated coupling, heat shrink tubing, screwdrivers, scissors, wire cutters, a heat shrink oven or hair dryer and insulating tape.
After checking the tools, you need to prepare the cable for installation. To begin with, we clean and degrease the ends of the cable, removing the outer insulation if necessary - this will ensure reliable contact between the conductors and the coupling. Then we check the condition and quality of the cable insulation. Check carefully that it is not damaged.
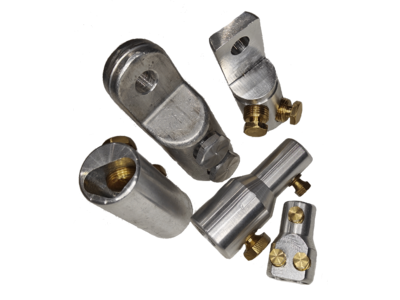
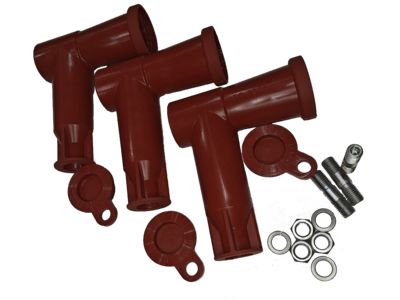
If the cable is ready, we proceed to checking the coupling. Your coupling must meet the specifications and dimensions of the cable. If you have not yet purchased a coupling, then you can choose the appropriate option for various types of cables on the Termofit website. Once you are sure that the sleeve fits the cable, you need to install the necessary components such as contacts, shields and heat shrink tubing.
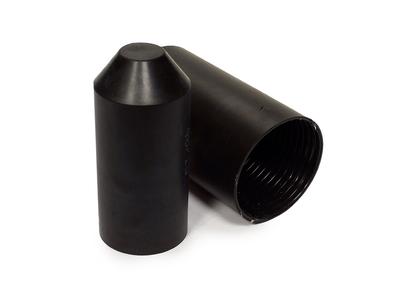
Once we have completed step 3, we move on to installing the sleeve on the cable: open the heat shrink tubing on the sleeve and secure it to one end of the cable, then install the sleeve on the cable, ensuring the correct alignment of the contacts with the cable conductors. Make sure that the heat shrink tubing completely covers the connection between the sleeve and the cable.
The next important step is heat shrinking , for this you will need a heat gun or a heat shrink oven. When heated, the heat shrink tubing shrinks and forms a tight connection between the sleeve and the cable, providing electrical insulation. Follow the coupling manufacturer's instructions regarding heating temperature and time.
After heat shrinking, we secure the sleeve and cable with insulating tape to increase the protection of the connection. This will help ensure your cable is resistant to external factors such as moisture or mechanical stress.
And the last 7th step is marking. Once installation is complete, check the connection to ensure it is properly installed and insulated. If everything is in order, mark the coupling and cable with appropriate markers or labels for identification and ease of maintenance.
For your safety, we strongly recommend that you carefully follow the coupling manufacturer's instructions and practice electrical safety. If you do not have experience or knowledge in this area, it is better to sign up for courses at the Termofit training center so that at the end of the educational process you can work efficiently and safely in the electric power industry.